Follow us on X. We're posting regular updates about everything GTA VI!
@iGrandTheftAutoMonkey Business
Last Edited by TreeFitty January 02, 2015 : 2 Comments : 27,650 Views
|
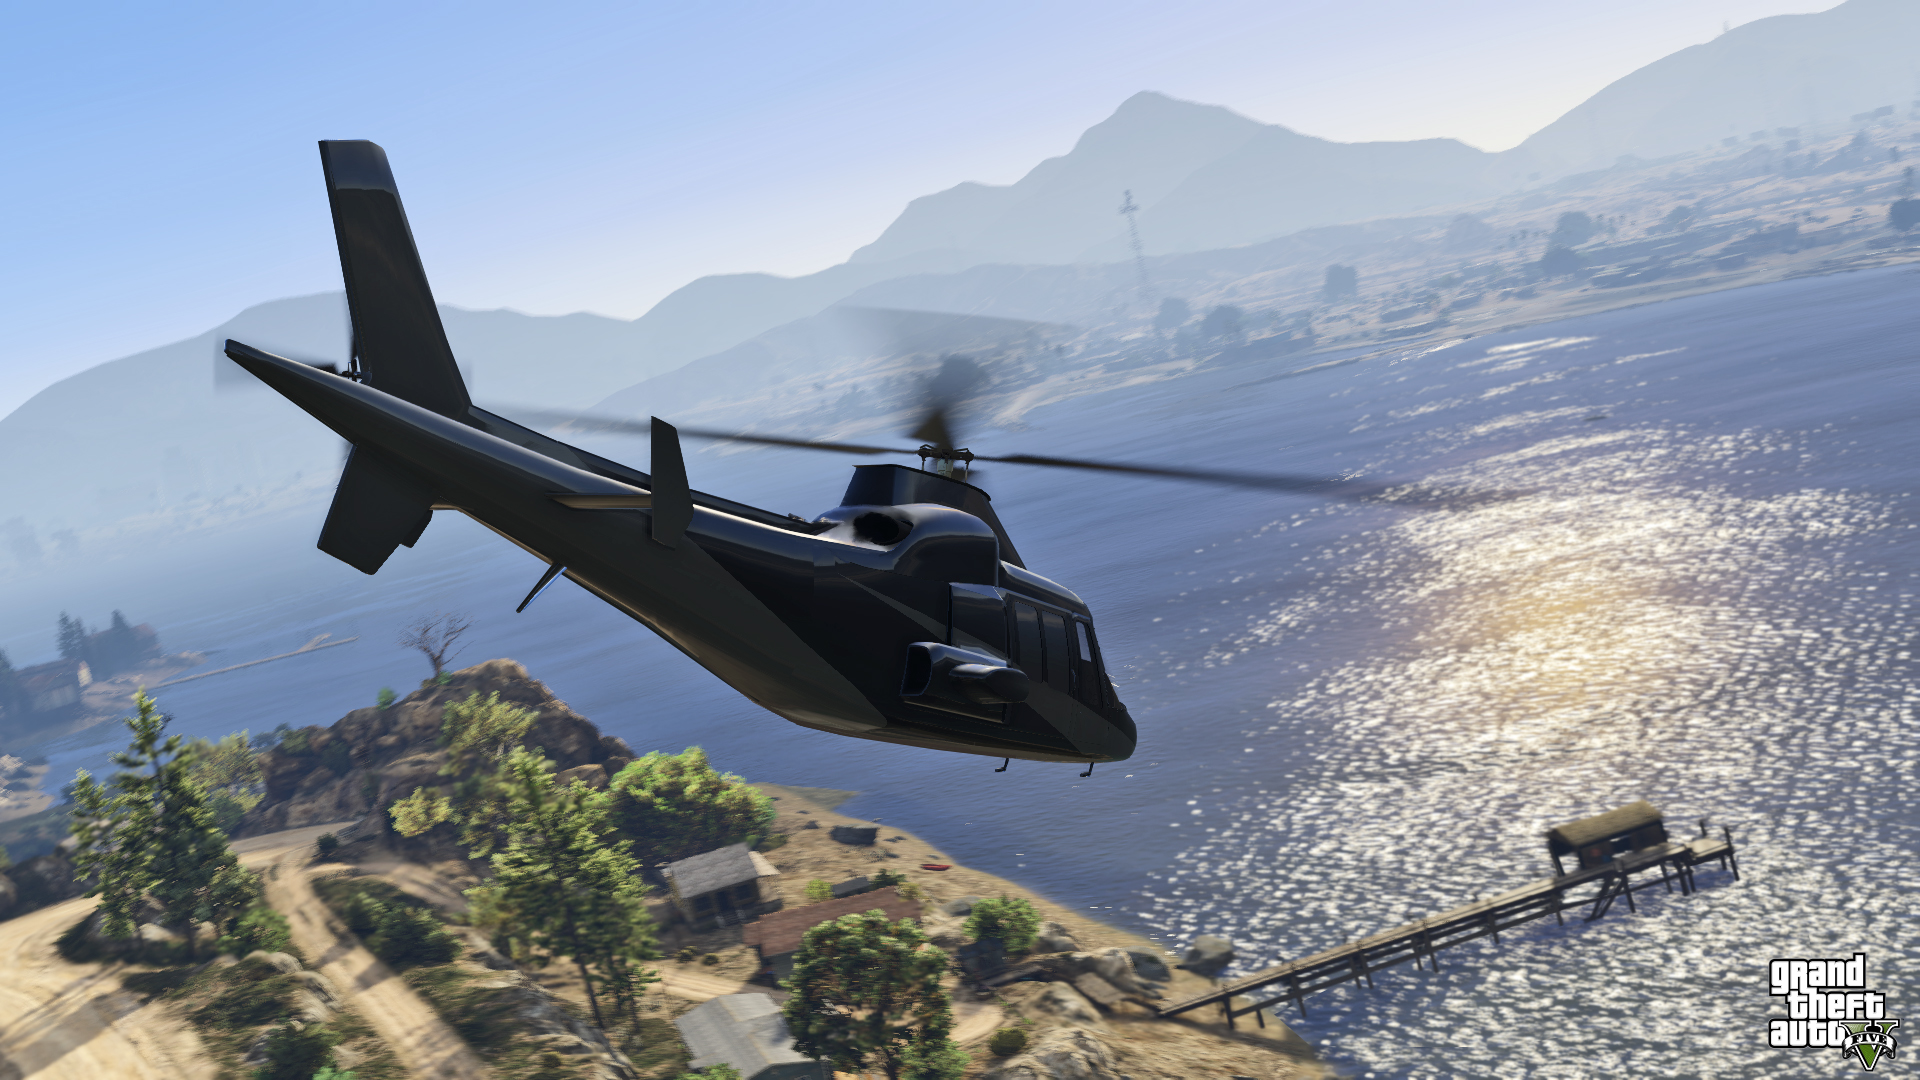
Michael, Trevor, and Franklin help the FIB steal a biological weapon from an IAA laboratory in order to save the country. Rewards: Stun Gun, New-Gen: Pistol .50, Heavy Shotgun Protagonists: Michael, Trevor, Franklin (start only) |
â— GOLD MEDAL â— Stunner Headshots Accuracy Mission Time |
Blame game
Michael looks out over the water as Franklin arrives at the dock. Michael tells him he hasn't heard from his family at all (although Michael gets a couple emails prior to this mission) but it doesn't matter since they'll all be dead after raiding this laboratory. Trevor arrives and says he was late because he's the CEO of an international business. If Franklin needs something done he should go to Trevor and not useless Michael. Franklin breaks up the squabble just as agents Steve Haines and Dave Norton pull in.Haines immediately asks where the other three are. No one knows what he is talking about. Haines says it's a six man job and refuses to take the blame for not making that known. Michael is ready to leave but Haines tells the trio they can do it on their own. That doesn't go over too well. Haines is invited to join them and prove his glory. Franklin hasn't been in the loop about this whole thing and is informed the IAA is having a nerve toxin made at this laboratory that they plan to give to a terrorist who will release it in a metropolitan area. Back to the current mission, Trevor and Franklin will be on the getaway crew. Michael will go with Haines and Norton to infiltrate the lab.
Delta Force
A little while later the agents and Michael are ready in their SCUBA gear and get in a boat. In control of Michael, drive down the coast line towards the lab. Michael makes it clear he doesn't want to hear any glory talk from Haines. They are doing this strictly for the people. All three will go at each other until reaching the marker. Norton says they are going in through a discharge tunnel.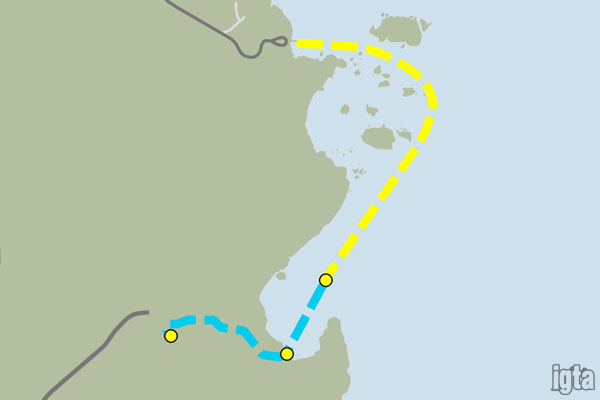
Dive off the boat and follow the agents to an underwater outlet. Michael is put in charge of cutting through the grate. Use the oxy-hydro cutter to melt through the designated cut points marked in green. You are on the metal when there is a bright glow. A thumping sound indicates you are through and can move on to the next cut point. A gauge shows how much fuel you have left so don't waste it. After cutting all around the grate Michael pushes it over and the three swim into the tunnel.
Follow the agents to get into the lab. They talk about a few things. Haines says he only meets the dumb criminals that get caught. Michael reminds him that he turned himself in. Doubly dumb. After giving a colonoscopy to the Statue of Happiness, go to the ladder on the far side of the air chamber and climb up out of the water. Michael asks what they're plan is. Haines says they are grabbing the toxin and initiating their escape strategy. Simple enough. The agents will lead the way so follow them into the building. Michael now has a stun gun.
Infiltration
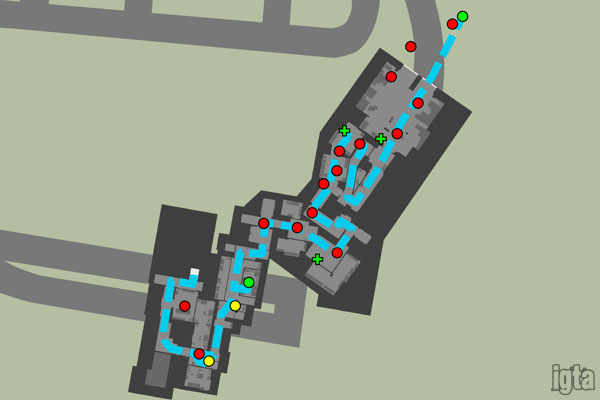
The agents open the door and run into their first lab worker. Norton gets him against the wall and tells Michael to get him with the stun gun. Do so and move forward. A guard turns the corner at the end of the hall but quickly gives up. Stun him too. Go to the elevator with the others. The elevator comes down with another lab worker inside. Stun him and grab the security card. In the elevator Michael comments that Haines probably wishes his camera crew was here.On the next level follow the hallway around to the right and stun the two lab workers in the room. Continue on around the hallways. Haines says to stay behind a wall since security is scheduled to come through at any moment. Take cover behind the wall as the guards approach from the next set of doors. Either let them walk away or stun them both. When you are clear follow the agents through the next hallway and to a secured door. Walk up to the access panel so Michael can swipe his new card.
Beyond those doors is a room with the toxin. A lab worker is inside the room but the only way in is for him to come out. Luckily another lab worker enters the area and Haines takes him hostage. The threat of a coworker's brain being splattered on the wall is enough for the worker in the room to open up shop. He exits the room and Michael is tasked with taking the nerve toxin. Enter the room and a cutscene will show Michael become the most dangerous man in the country - and the most scared.
Exit Strategy
With the toxin in hand exit the room and stun the lab workers. Haines says the toxin needs to be kept cool. The alarm will now sound and it's a fight to get out. Switch to a real gun and head out through the next set of doors. Around the corner are two guards. Kill them and move forward. Through the doorway on the right are four more guards making their way closer to you. Wipe them out and move down the stairs. Another guard will come around the next corner so be ready. Kill him and grab the health pack to the right if needed.Continue around to the left. A guard will come running out into the next short hallway. Kill him and move around the right. Along the next corridor are three guards spread across different areas. Kill them and move up into the monkey cage area. Two more guards will appear from the far room so be ready and kill them too. There is a health pack in the left corner near some electrical panels if needed. Haines will make one of two comments about the animals going crazy in their cages. The next set of doors is locked but a shotgun blast will fix that.
The next hallway is clear but when you come around the corner there will be plenty of bullets greeting the crew. The distress signal has done its job and now the military is involved. There are four security guards in the loading dock ahead and five more outside running in with three of them getting off a Barracks truck. Clear the area and grab the health pack to the left on the wall if needed. Go to the container outside which is a refrigeration unit. A cutscene shows Michael carefully put the nerve toxin in the refrigerator. Haines tells Michael to get the container ready for shipment. Trevor is on his way and calls out as the private helicopter approaches.
Biological wrecking ball
SWITCHed to Trevor, hover over the container and get close. A cutscene shows Haines yelling that the IAA response team is in the building. He wants to abort but Michael wants to keep going. Haines says if the chopper goes down it will take half the west coast with it. Michael presses him for options to keep going. Haines decides to stay back and cover for them. Michael doesn't care and Norton gives up. They climb up the container to the chopper as Haines leans on a wall and shoots his own leg. The IAA team finds him and the leader wants Haines detained.Back in control of Trevor, fly to the airfield. Michael fills in Trevor about Haines playing a double agent. Trevor wonders if he'll be debriefed with a flashlight (just like Mr. K). Norton says he will take the toxin when they get on the ground. Trevor will dispose of the helicopter - if he doesn't have anything more important to do. Hover over the trailer and drop it. After that land the chopper to the side.
Franklin meets with Michael and Norton as Trevor flies off. Michael hopes this is the last of their work for the FIB but Norton says he'll do his best. Haines probably won't be interrogated for all of this. More likely he'll get a medal out of it. Dave tells Michael to keep his head down and drives off in the truck. While walking into the hanger Michael receives a message from Lester that Madrazo has been satisfied with the peace offering. He can go back to his house in Los Santos as long as Trevor returns Patricia. Trevor can stay in the desert where he likes it and the big score they are planning will drive them all apart anyway. Michael and Franklin part ways.
You are SWITCHed back over to Trevor who is driving Patricia back to Madrazo's farm house - with some appropriate music playing on the radio. Trevor is devastated but Patricia tries to calm him down. She isn't abandoning him like everyone else he loved - she is going home. At the house Trevor yells at Madrazo to treat Patricia right. Madrazo - who apparently lost an ear in addition to his wife during Trevor's last visit - says he will and that Trevor and Michael are such good friends of his now that they will avoid each other.
After this mission Franklin will get a message from someone named Brother Adrian who ends up being a part of the Children of the Mountain movement and links to their website which Franklin can then join. Also if you listen to a Weazel News radio segment sometime after this mission they will state that the vile stolen contained a new perfume formula.
Tips
- The torch can kill a lot of time if you are not efficient with it. Work your way around each side. You should have plenty of torch fuel even if you hold the trigger. Each cut point takes a second to go through. Make sure you see a bright ball of fire or else it isn't cutting. Note for players that invert Y axis: the torch does not follow the inverted control. Pushing down on the analog stick makes the torch move down.
- You can get ahead of the agents a little at the part where you dive over then under control gates (there are two next to each other, the agents go to the right).
- As soon as you enter the air chamber go straight up towards the left and swim up to the ladder.
- You can get ahead of the agents easily.
- The Stun Gun works just like a pistol except you need to wait in between shots. Stun people in front of you as soon as possible to save a little time.
- You should be able to stun the two security guards in one shot from the wall cover (even if you didn't really get both, they both go down).
- To make the lab worker with the toxin open the door faster, stun the second worker as soon as he walks into the area. The threat is just as good and he'll open the door right after. Stun him too on your way in.
- A pistol is good enough for most of your needs while exiting the building. A rifle is a good choice for the end at the loading dock.
- If you don't care for headshots, grenades can work well when facing multiple enemies at a distance. Just be careful not to aim high or else Michael can throw it against the wall above the doorway. Also beware of tossing them too short and one of the agents takes cover nearby leading to a mission failure.
- The helicopter needs to be pretty low over the container to trigger the cutscene.
- The container doesn't need to be perfectly over the trailer. Get it close over top and drop the container when the game says to.
Objectives
- Stunner - Stun 8 enemies with the Stun Gun.
- Headshots - Kill 15 enemies with a headshot.
- Accuracy - Finish with a shooting accuracy of at least 70%.
- Mission Time - Complete the mission within 13:30.
All content created by and property of iGTA5.com and must not be reproduced without express written permission. © 2011-2026 iGTA5.com
Comments (2)
- TreeFitty (Guest) August 24, 2014You'd have to glitch in.
- swatkiller.nets (Guest) August 23, 2014How can i get into the lab after ive finished the mision and went back
Make A Comment
All comments are text only. Any BBCode or HTML entered will come out like it went in, so we suggest you enter ONLY TEXT.
Your comment will be posted as a Guest.
 Please Wait...